Dutch Tool Chest
In my endeavours to become a better woodworker it only seemed logical that I would eventually be making dovetails. I wasn’t intimidated, but it is a very different thing to make joinery than sculpting or carving a spoon, and even staked furniture has a more three-dimensional feel to it.
We had a vacation planned and it seemed like a cool idea to bring some wood and some tools and make a project whilst on holiday. After all, when better to do woodworking than in your vacation?
I thought for a while about what project I wanted to make and considered a small dovetailed box or jewelry box, but somehow it didn’t seem like the right thing. Even making just a small box one still needs a substantial toolkit and I wanted to make something bigger if I was going to bring all those tools with me.
I thought about it some more and eventually came up with the perfect project:
A Dutch Tool Chest.
First a little history about these chests. Dutch Tool Chests were popular with shipbuilders in the Netherlands in the 18th century. Tools were getting rusty due to the wet conditions in the (mostly) unheated workshops of the shipyards and workmen wanted to protect their tools against the elements. They came up with a solution where the lid of the chest is slanted to keep the rain off the chest. Usually the chests were equipped with a fall-front for the bottom compartment and provided enough space for the necessary tools of the shipbuilders. Saws would usually go in the lid, bigger tools in the top compartment together with chisels on a rack and small measuring tools in a separate compartment. The bottom of the chest was were workmen usually stored their hand planes.
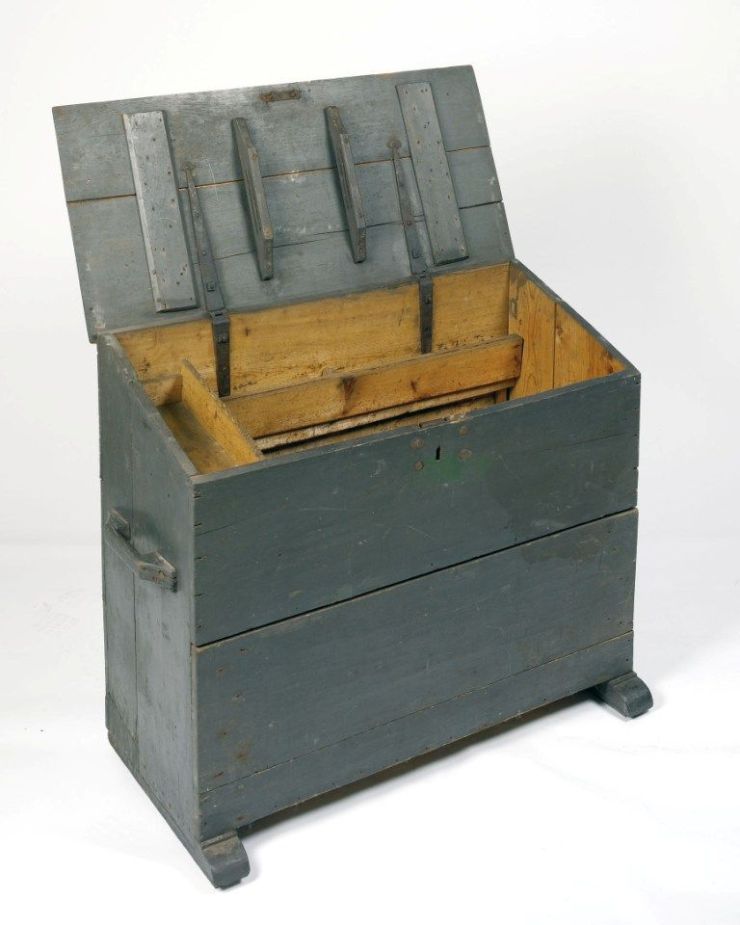
More recently, these chests have been made popular once again thanks to Chris Schwarz, who wrote an article about how to make one in Popular Woodworking Magazine. There are several interesting things about its construction as well as a cool sliding lock feature that I will discuss later on.
I went ahead and made a list of tools I would be needing. I wanted an absolute minimum tool kit (not to annoy anyone in our family, it was after all still going to be a vacation…). I planned it well and ended up using every single tool I had brought with me – a very good feeling.
Since we planned our vacation in the rural French countryside I wouldn’t have the possibility to purchase any further tools or supplies, so I had to have everything with me, including the wood.
I happened to have a few boards of pine lying around and one beech board that was the right size for the bottom. I figured it was a good idea to make the bottom out of beech, since it is more prone to rotting / wear than the pine I would be using for the rest of the chest.
Of course I would need some kind of workholding device if I were to do all this joinery. The perfect solution to this was taking my Roman workbench with me. My wife was supportive of this, especially after remembering that the roman workbench doubles very well as a sitting bench as well as a beer/wine table for the evenings.
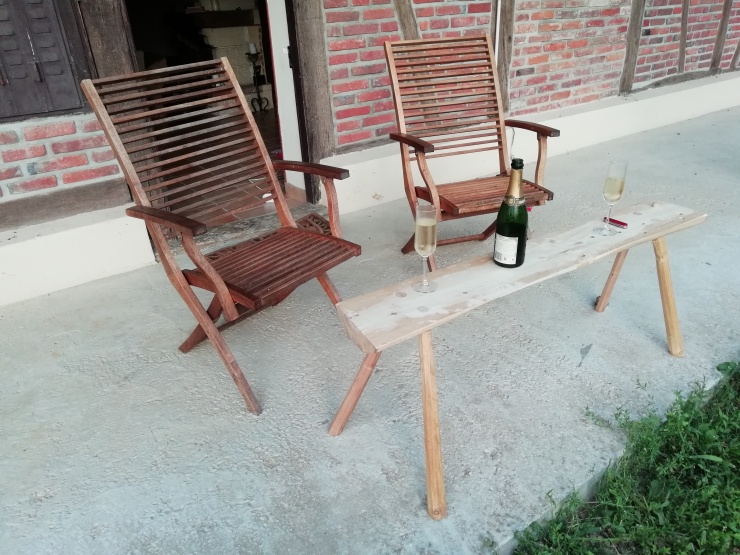
In the end it took about seven days to finish this tool chest and, taking into consideration we were doing vacation stuff and other relaxing things, I am pretty happy with the speed of this build.
In the beginning there were sides
Once we arrived at our half-timbered former farmhouse in France I found a good spot to set up my ‘workshop’ outside, organised my wood and tools and started off with planing the side boards.
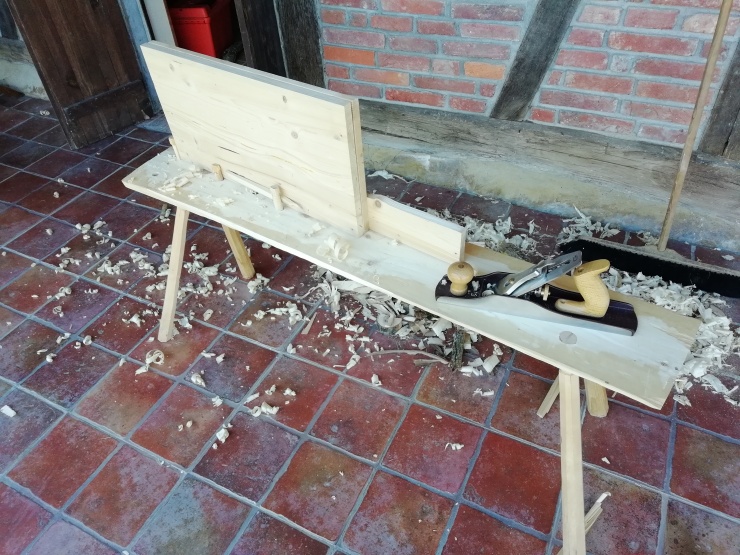
This was easy stuff, the next step however was dovetails. I had previously never cut dovetails so I was excited and nervous in anticipation. I marked out the dovetails using two pairs of dividers and a small sliding bevel gouge.
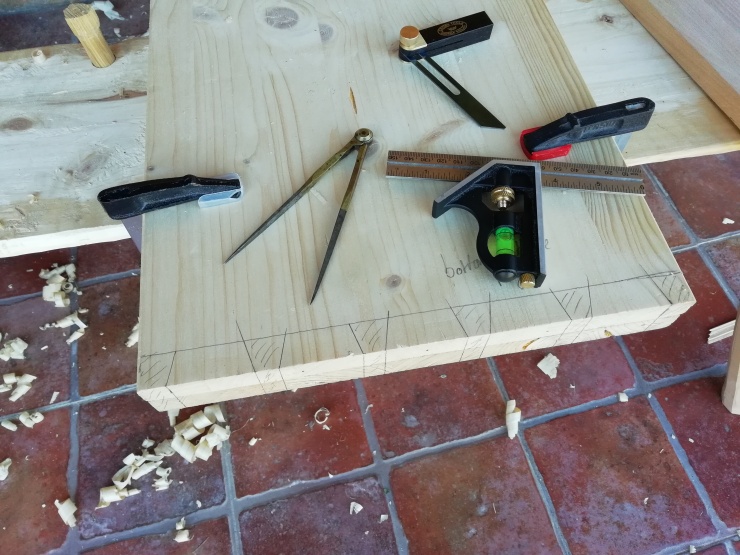
I created a small rabbet so the layout would be easier to transfer to the pins board. I sawed the two boards clamped together with my dovetail saw and used a coping saw to saw out the waste on the two individual boards. This went well and I didn’t run into any problems there.
However when I had transferred the layout onto the pins board something went wrong. I forgot to mark the waste wood and excitedly sawed straight into the pins! Being quite annoyed I assessed the situation…. Would my tool chest still be wide enough?
The measurement thankfully proved okay and I sawed the whole row of pins off the board to start again.
Pfffff.
This time I used a sturdy chair that was sitting around to clamp the pins board to and sawed out both sides with my dovetail saw
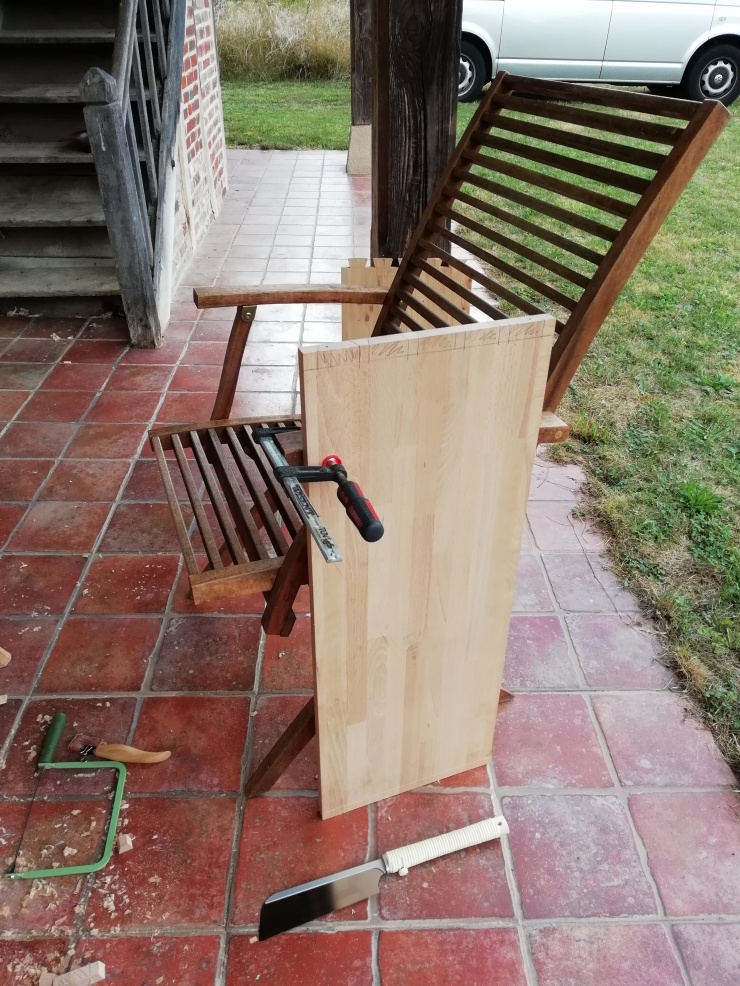
For some strange reason (and I don’t expect this to happen the next time I cut dovetails) the tails and pins fitted without too much adjustment necessary. Amazing.
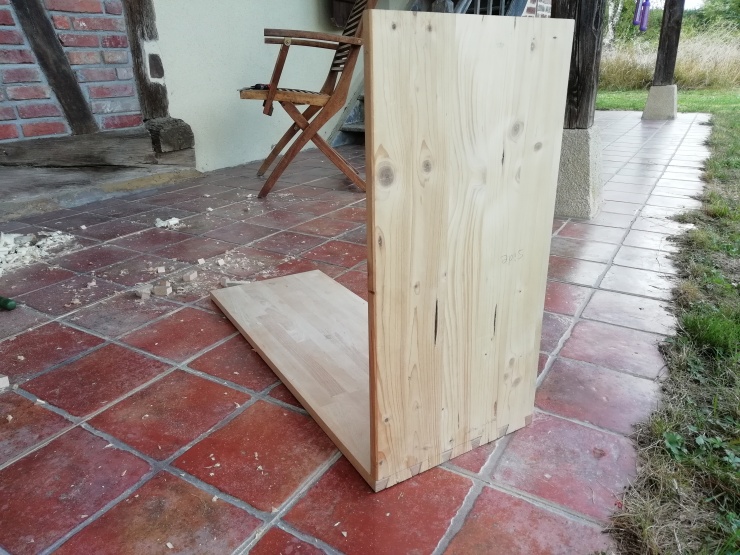
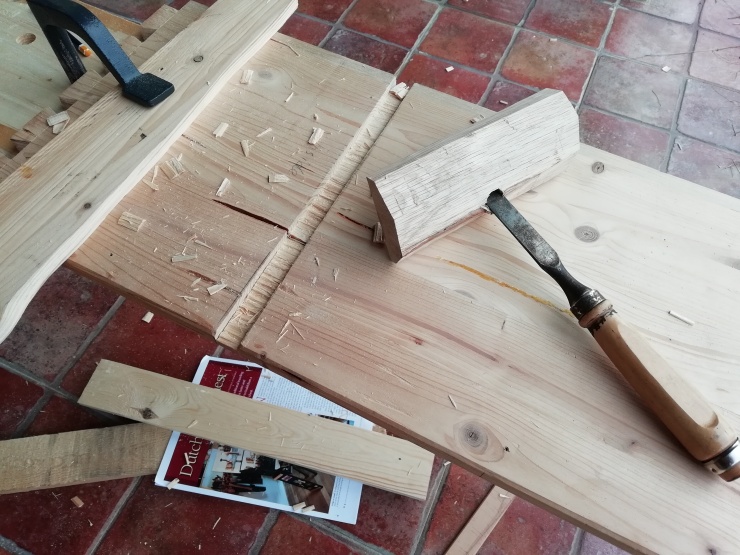
Dados and router planes are best friends
The next bit of joinery on the carcass was a shelf that rests in between two dados, cut in the sides of the chest. Making dados is great fun and I had put together a poor man’s router plane just ahead of my vacation especially for the purpose of making this tool chest. I sawed the dados freehand and chopped the waste out with a chisel, finishing with the poor man’s router plane (which worked very well). Adjusting the width of the shelf so the carcass would be square was the only thing left to do before gluing and clamping.
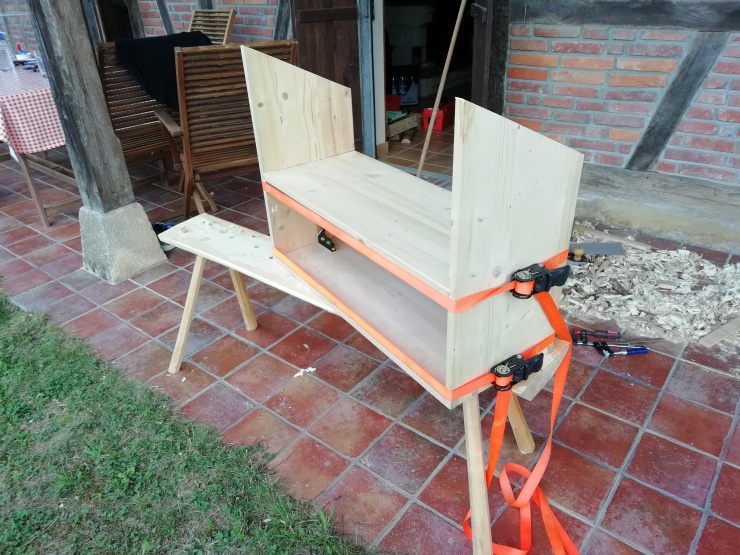
I didn’t bring clamps on purpose because of their weight and size. Instead, I experimented using ratchet clamps. There were no problems with this method – keeping the carcass square was an easy job.
Fall front and front
With the carcass now done it was time to make the front and the fall front with the cool locking mechanism. Basically, two sticks are pushed through holes on the carcass and the fall front, locking it into place when the lid is closed. Very clever and fun to make.
I started by cutting out the notches for the sticks with a saw and chisel and making them flat with my router plane. The fall front needed little blocks with notches in them where the sticks would move through. I made these out of some scraps.
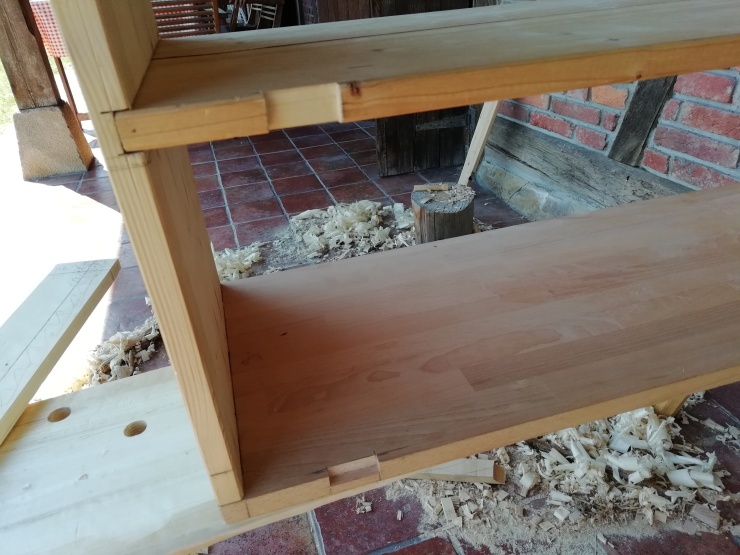
After all the notches were cut I did a test fit to make sure the sticks could move in and out freely, and used screws to attach the front and bottom ledge to the carcass.
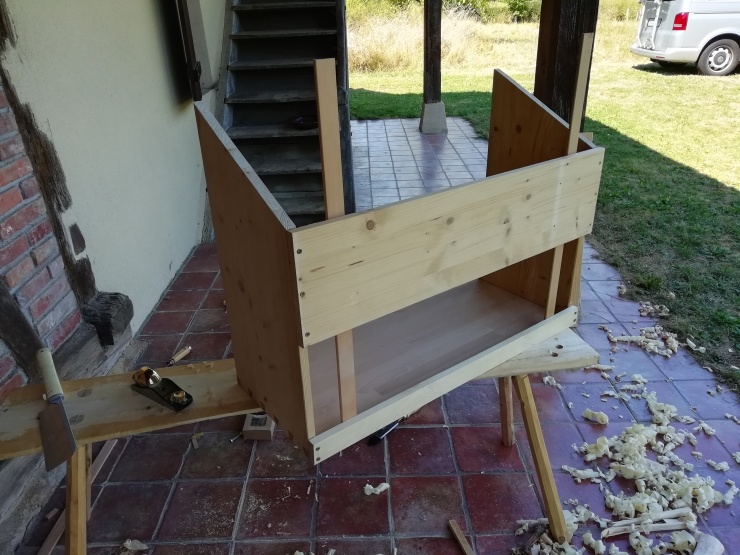
The back of the chest gave me no rest
Next up was something thing I had been dreading. I didn’t have big enough boards in the house to make the back or the lid out of one piece so I had to ship lap 10 small boards together for the back and another 7 for the lid. It was lots of work but now at least I know how to make a ship lap joint.
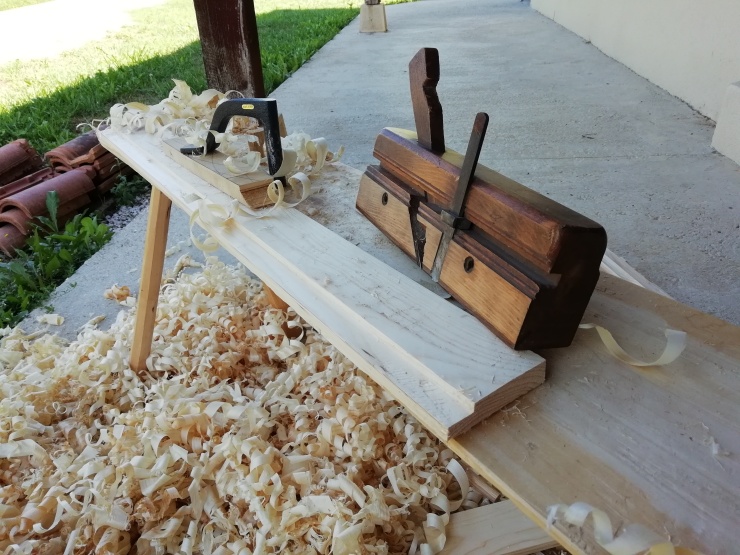
The boards were rough sawn but not bad quality so I first had to plane them all flat and smooth
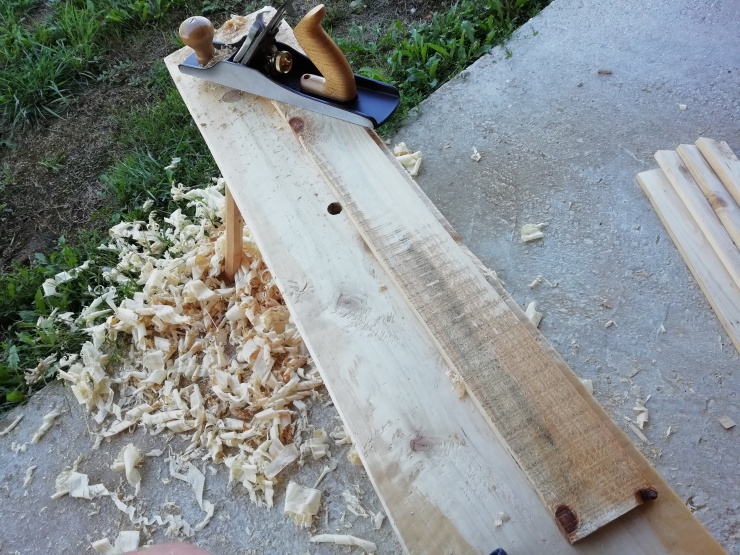
The lid
With the back finished, now it was time to make the lid. For the lid I did not ship lap the boards together, mostly because I was running out of wood and wouldn’t be able to make the lid out of one type of wood (which would have looked wrong). I placed two battens on the inside of the boards and screwed them together, afterwards hammering the tips of the screws to the side to prevent injury and add strength. I had bought nice French nails at Dictum for this project but figured it was a better idea to use screws whilst on holiday (I can always still remove the screws and replace them with nails instead).
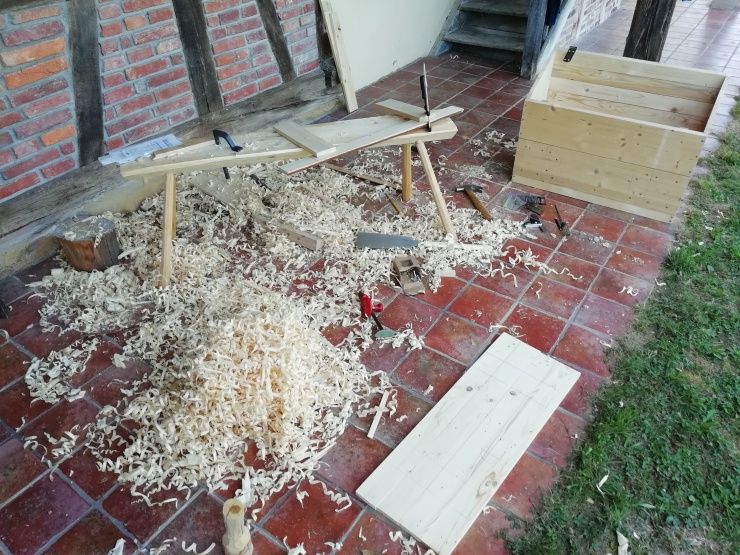
With the back and the lid done there was just one more thing to do – add hinges. A fairly straightforward procedure, the notches were cut in the back and the lid and the hinges were screwed together with 8 screws each. I carved two handles out of an old piece of beech firewood that was sitting around and my tool chest was done.
Done?
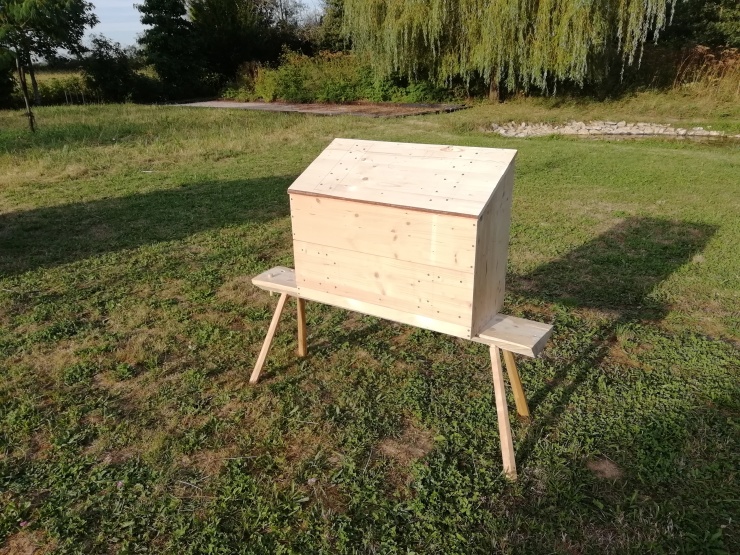
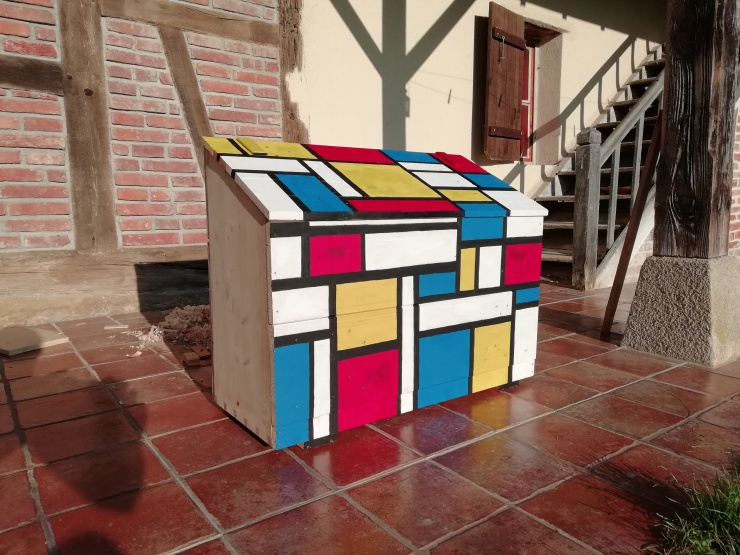
Nope, Dutch tool chests are traditionally painted. I had not thought I would get as far as the painting stage whilst on vacation so naturally I had not brought any paint with me. But luckily the local supermarket carried a paint package with the 3 primary colours plus black and white – exactly the colours I had in mind for my finish. Before I left on vacation I had a vision of a Dutch tool chest painted in Mondriaan colours. I laid out a pattern on the chest and painted away. Some may say it is a bit hard on the eyes but like Brian commented: at least I won’t get my tool chest confused with anyone else’s!
I hope you enjoyed my build, I certainly did.
——————————————————————–
The tools I used to make this Dutch Tool Chest are listed below:
Hammer, Jack plane, Block plane, Rabbet plane,
dovetail saw, ryoba 240 saw, coping saw, folding saw,
glue, ratchets, roman workbench, holdfasts/pegs,
straightedge, square, bevel gauge, dividers, measuring gauge,
chisel, router plane, eggbeater drill,
Gränsfors hatchet, North Bay Forge adze,
Hardware:
screws, hinges
Hey, I figured it out!
LikeLike
Actually, I figured it out!😂😂
LikeLike
Haha! BTW, the chest turned out beautiful. It might not be to everyone’s taste, but perhaps you’re a trendsetter!
LikeLike
Thank you! The paint job is pretty extreme but still better than painting tulips weed and wooden shoes imo😉 Have fun building chairs!
LikeLike
Nice article on building the chest with minimal tools. Well done!
I was not aware of the Roman workbench! Will be looking to build one!
Cheers from Canada.
LikeLike
Thank you, Daniel. I can definitely recommend building a roman workbench! They are very practical and yet extremely easy to build.
LikeLike
Excelent post! Thank you, I am planning on building myself a DTC and found this very helpful. Love the use of the roman workbench, mine is a source of constant amazement and wonder to me ¡I keep finding new and interesting ways to use it!
Regards, Juan.
LikeLike
Thank you Juan, I’m glad that you found the post useful. Good luck with your DTC build! Best, Rudy
LikeLike